Hello for Business, BYOD and Charities #2

In my last blog on Hello for Business, I covered what happens with the default ‘Hello for Business’ settings configured when a user using their own PC, rather than their work PC, installs the Office suite onto that device.

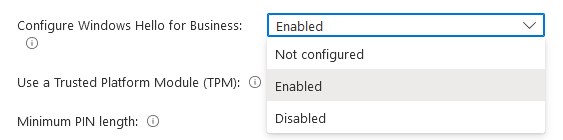
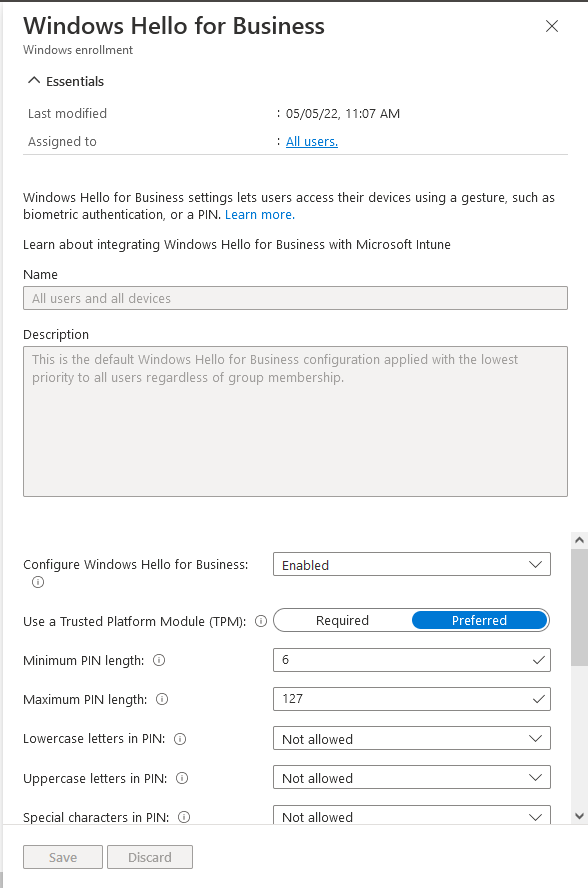
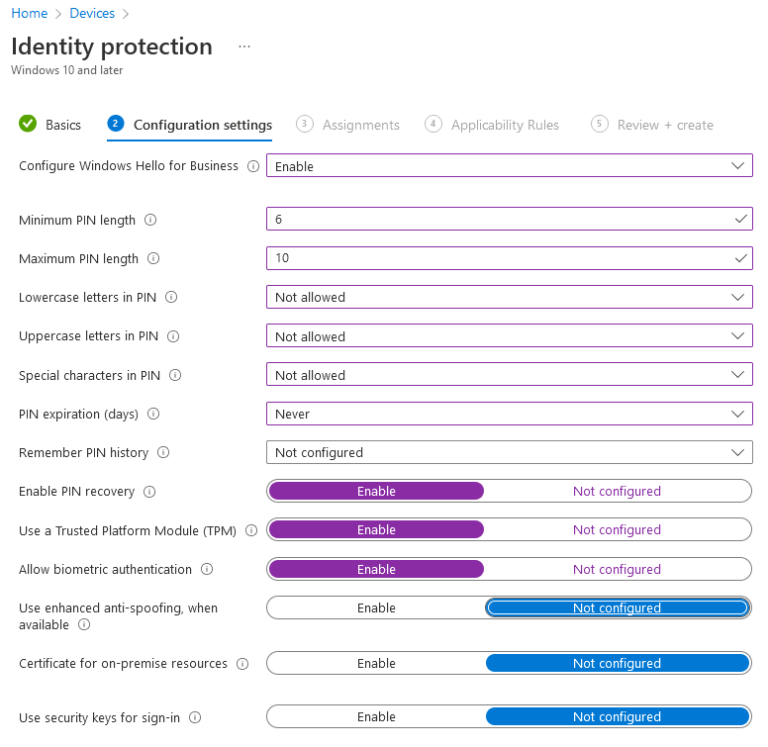
I showed that the user is forced to modify their Windows Hello login PIN based on their organisation’s Hello for Business settings and that this essentially shifts the PIN length requirement from 4 characters to 6 characters.

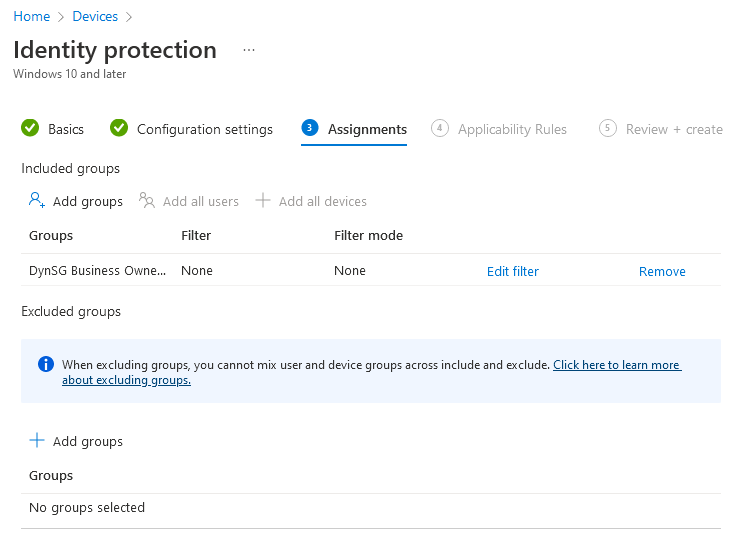
The password change requirement can be a bit of a surprise to users if they were not expecting it. This is particularly a problem for charities as their users may well be volunteers rather than staff. It’s relatively easy for a business to say: “If you want to access business-owned content at home via the Office suite, you need to meet our security requirements – one of which includes the length of your Windows Hello PIN.” After all, they have a contractual relationship with their staff, but this doesn’t necessarily work for volunteers who might well reply: “Well, you aren’t paying me to do this – you have no right to tell me what to do on my computer.”

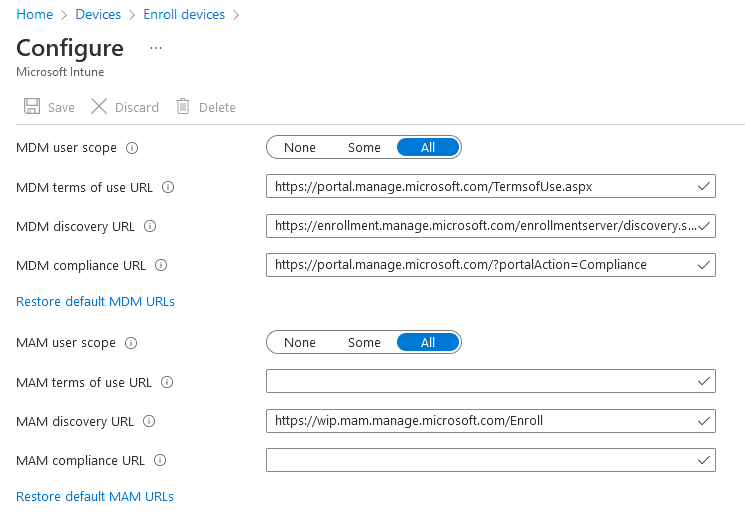
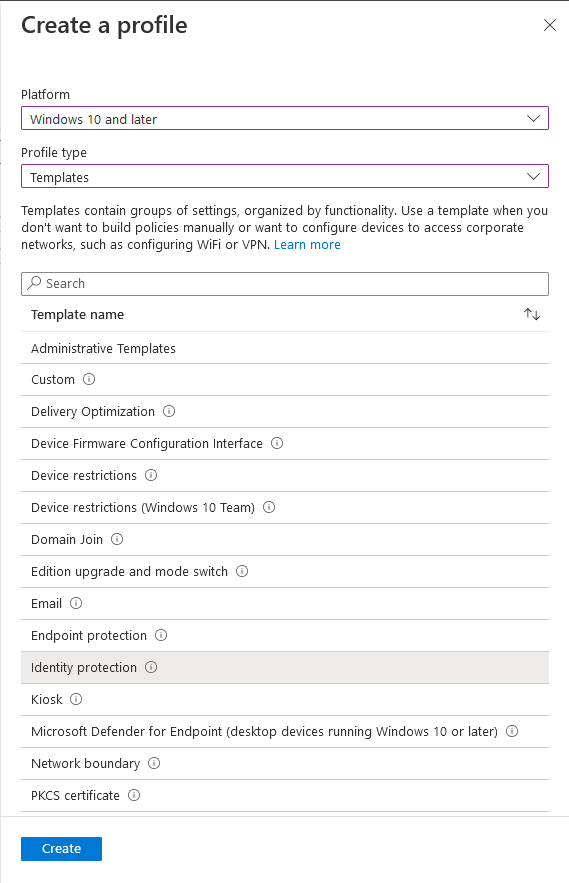
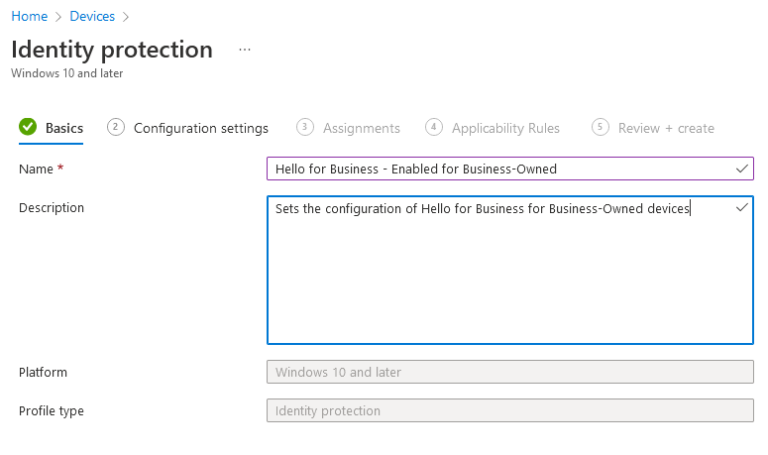
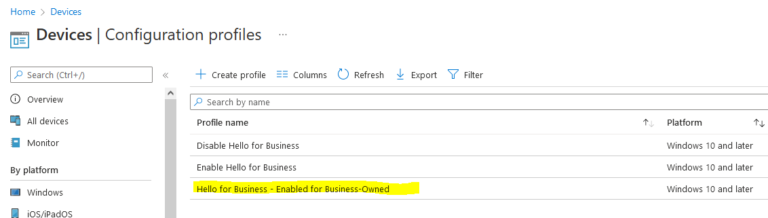
This blog post will look at which configuration options in the Microsoft 365 environment affect how the ‘Hello for Business’ feature works.

Microsoft Endpoint Manager

The first thing an administrator needs to know is that Hello for Business is configured within Microsoft Endpoint Manager. This can seem very strange, as the Windows Hello PIN change requirement appears to be the effect of installing the Office suite, but in reality the requirement is triggered after installing the Office suite by enabling the licence for Office which is tied to the user’s whole Microsoft 365 environment, including the Microsoft Endpoint Manager solution.

Hello for Business can take effect either during device enrolment, or after when device configuration policies are applied.

Device Enrolment – Hello for Business

To configure the Device Enrolment Hello for Business settings within Microsoft Endpoint Manager go to Devices > Enrol Devices > Windows Enrolment > Windows Hello for Business. Here you will see the following configuration screen:

Microsoft Endpoint Manager (MEM) Hello for Business enrolment configuration

Notice that the policy here is applied to ‘All users’ and the option ‘Configure Windows Hello for Business’ is set to ‘Not Configured’.

It’s worth noting that although the ‘Assigned to: All users’ appears to show the ‘All users’ text as a link which implies it can be changed. This is a link to a help page, rather than a link allowing the policy to be applied to a different group of users. This help page informs the reader that these Hello for Business configuration options apply tenant wide – i.e. to all users irrespective of what device they use or any other policies.

It’s also worth knowing that the options in the ‘Configure Windows Hello for Business’ box are:

Microsoft Endpoint Manager (MEM) Hello for Business Options at Enrolment
Microsoft Endpoint Manager (MEM) Hello for Business enrolment settings - Enabled

It can be seen now that the ‘Minimum PIN length’ is set to ‘6’.

This appears to be where the requirement for the Hello PIN to be 6 characters long comes from when a user installs Office, even though with the default configuration of ‘Not Configured’, this option is hidden. The value of the ‘Minimum PIN length’ can be changed up or down.

These settings apply to all users, so if you leave ‘Configure Windows Hello for Business’ set to ‘Enabled’ and modify the ‘Minimum PIN length’ to ‘4’ then this setting will apply to all users – those using business owned devices and those using personal owned devices.

Device Enrolment – Automatic Enrolment

Another setting that has an effect on how devices enrol in Microsoft Endpoint Manager and thus may affect how Hello for Business works with them is the Windows automatic device enrolment settings.

These are found in Microsoft Endpoint Manager by going to Devices > Enrol Devices > Windows Enrolment > Automatic Enrolment. Here you will see the following configuration screen:

Microsoft Endpoint Manager (MEM) Windows automatic enrolment settings

To understand this configuration option it is necessary to understand what is meant by Mobile Device Management (MDM) and Mobile Application Management (MAM).

Microsoft provide the following definitions:

MDM user scope: When set to Some or All, devices are joined to Azure AD, and devices are managed by Intune. It doesn’t matter who’s signed in to the device, or if devices are personal or BYOD. When set to None, devices aren’t joined to Azure AD, and aren’t managed by Intune.

For example:

MAM user scope: When set to Some or All, the organisation account on the device is managed by Intune. Devices are “registered” in Azure AD. Devices aren’t “joined” to Azure AD, and aren’t managed by Intune. This option is designed for BYOD or personal devices.

For example:

By default both MDM and MAM are set to ‘All’ which, in practice, means that business-owned devices will be managed by Intune and joined to Azure AD, while user-owned devices will simply be registered with Azure AD.

But under this configuration – although the device is not managed by Microsoft Endpoint Manager the ‘Enrollment Hello for Business’ configuration is still applied to a user-owned device.

Device Configuration Profile – Identity Protection

The other method of configuring Hello for Business is for it to be applied after device enrolment through the use of an Identity Protection Configuration Profile. This allows a targeted approach as the policy can be applied to a device or user group with static or dynamic membership.

Using these policies an administrator will disable Hello for Business in the device enrolment settings. It will also disable Hello for Business in the device enrolment settings and then configure two policies:

  • Enable Hello for Business: a policy that enables Hello for Business, sets the configuration settings and only applies to business owned devices
  • Disable Hello for Business: a policy that disables Hello for Business, and only applies to user owned devices.


Group Creation

Before configuring the Identity Protection policy, it’s necessary to create a group that matches devices based on whether they are corporate devices or personal devices. This can be done by creating a new group in the ‘Groups’ section of Microsoft Endpoint Manager with the following configuration:

  • Group Type: Security
  • Membership Type: Dynamic Device
  • Dynamic Membership Rule – Corporate Devices: (device.deviceOwnership -eq “Company”) and (device.deviceOSType -startsWith “Windows”) and (device.deviceOSVersion -startsWith “10.0”)
  • Dynamic Membership Rule – Personal Devices: (device.deviceOSType -startsWith “Windows”) and (device.deviceOSVersion -startsWith “10.0”) and (device.deviceOwnership -ne “Company”)

Identity Protection Policy Creation

To configure the policies open Microsoft Endpoint Manager and go to ‘Devices’ then ‘Configuration profiles’ and ‘Create profile’ as detailed below:

Creating a Identity Protection profile in Windows Endpoint Manager

In the ‘Basics’ tab give the policy a name and a description:

Creating a Identity Protection profile - basics

In the ‘Configuration’ tab ensure that ‘Configure Hello for Business’ is set to ‘Enable’ and configure a minimum PIN length as required along with other parameters:

Creating a Identity Protection profile in MEM - configuration settings

In the ‘Assignment’ tab under the ‘Included groups’ select ‘Add groups’ and add in the Dynamic Group that you created earlier:

Assigning the Identity Protection policy to users or devices

Skip past the ‘Applicability Rules’ tab without changing anything and in the ‘Review + create’ tab click ‘Create’.

The new policy will now be listed along with any other configuration policies you have:

Resulting Identity Protection policy in MEM

Next time

In our first blog on Hello for Business we explained what Hello for Business was and how it worked for users working on devices they owned – particularly focusing on the fact that it required them to change their login PIN even though Hello for Business was set to ‘Not Configured’ in the administration portal.

In this blog we have covered how Hello for Business is configured and the different top level options available in the configuration.

In our next blog we will talk about the testing we’ve done and whether different configurations require the user to use Hello for Business or choose a different PIN.

Want to know more about ICT Security?

Want to know more?

Why not contact us to arrange a FREE consultation to talk about your ICT needs and how they could best be met?